
Metrics Collector: How to Optimize Your Business Insights
This article will introduce you the Ruby tool that we have built at Anadea to automate some repetitive processes.
This article will introduce you the Ruby tool that we have built at Anadea to automate some repetitive processes.

A hash table stores data in key-value pairs, providing constant O(1) time for lookup and insertion. This makes it highly efficient, raising the question of how this speed is achieved.
In the previous articles of the series we decided on the required playground functionality and prepared a runtime infrastructure for game bots and sandboxes.

In the first article, we covered the game rules and engine specs. Now, we’ll show how to use DigitalOcean and Dokku to let players write bots in various languages.

Rspec is a great tool for the Ruby community, but tests can become slow in large projects. When test suites take over 30 minutes, something has gone wrong.

A large `routes.rb` file can quickly become cluttered due to customizations like Devise, additional routes from gems, Sidekiq, and namespaces for APP or API.

Carrierwave is a popular Rails gem for image uploads. I recently needed to upload two image types differing only by target directory. Sounds simple, right?

Looking for an outsourced Ruby on Rails developer? Find an expert with experience, easy collaboration, and results that meet your expectations.
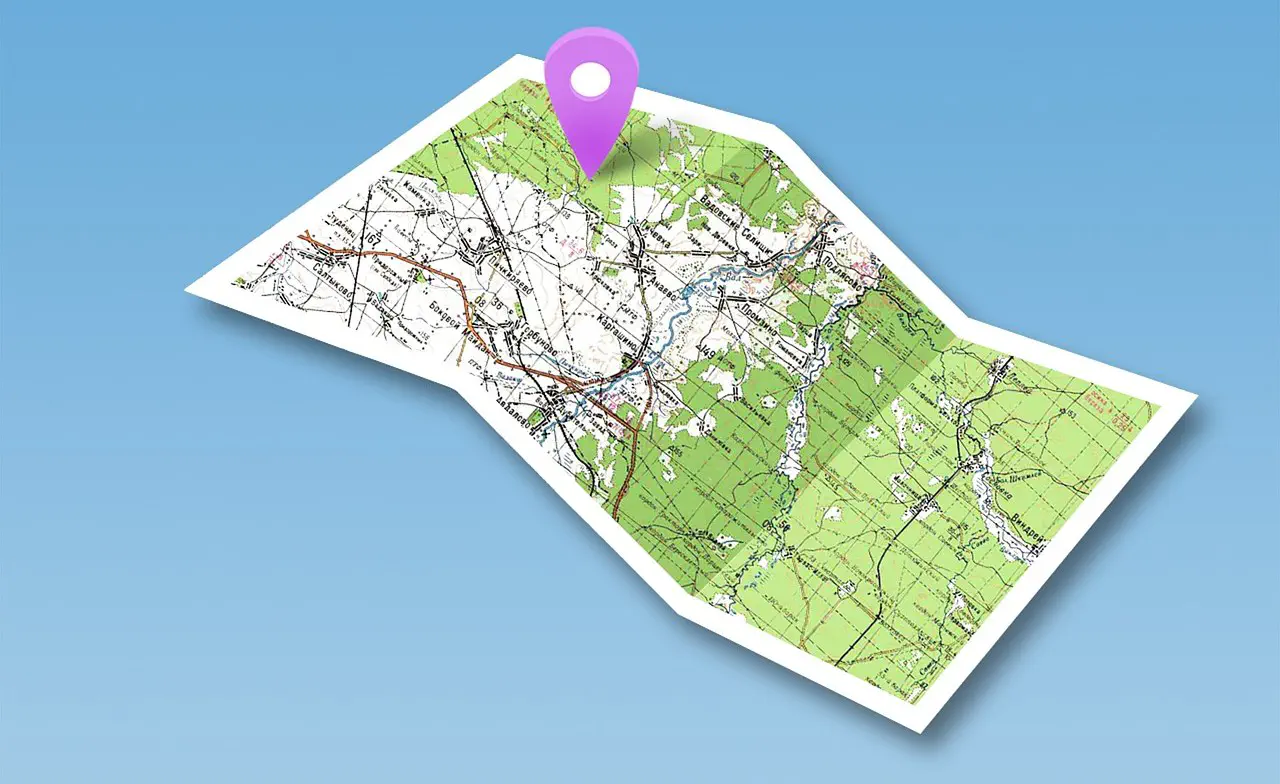
The first and the most important thing you need to know about Google Maps service – it is awesome! It's an extremely fast, reliable, highly customizable freemium tool.